Despite how hectic things have been this summer, I’m committed to getting a post in for the month of August. It’s also my 50th post! This one is a brief “instructable” for making a fancy leather binding out of a not-so-fancy trade paperback. Unfortunately, I only took one in-process photo of the book, so much will be left to the imagination.
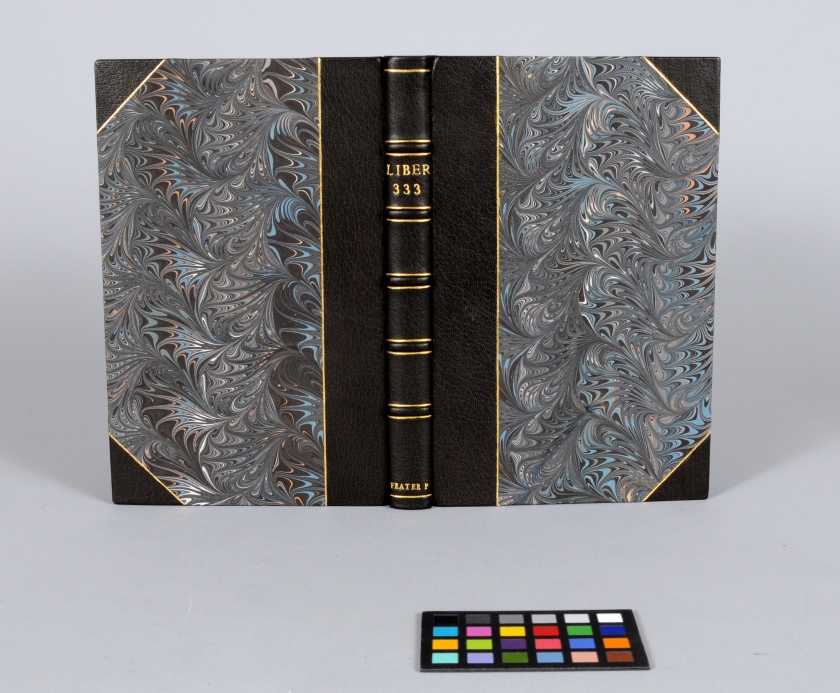
This past spring I was in a gift-making mood and had a devious idea for a good friend of mine, who is a bibliophile and connoisseur of the occult. I started with a common edition of The Book of Lies by Aleister Crowley. It is a perfect title for this structure…
 This book is what you would call “perfect” bound – single sheets attached with only adhesive and covers composed of a single piece of printed or laminated card adhered along the spine. Since the book is completely square, I could not simply stick a leather case binding on it. There is no round in the spine and, because of the lack of sewing, there is no swell. In order to put on boards of any thickness, a false shoulder had to be constructed on the book.
After tearing off the paper covers, I placed the textblock in the job backer and, using the hammer, rounded the spine a bit and formed a small shoulder. A piece of thin cord is then saturated with PVA and stuck to spine edge of the textblock at front and back to further build the shoulder. The spine and false shoulders are then lined with Japanese paper to consolidate and hide the cord. If the for-edge of the book remains flat after shaping, a round can be sanded into it with sandpaper and an appropriately sized piece of dowel.
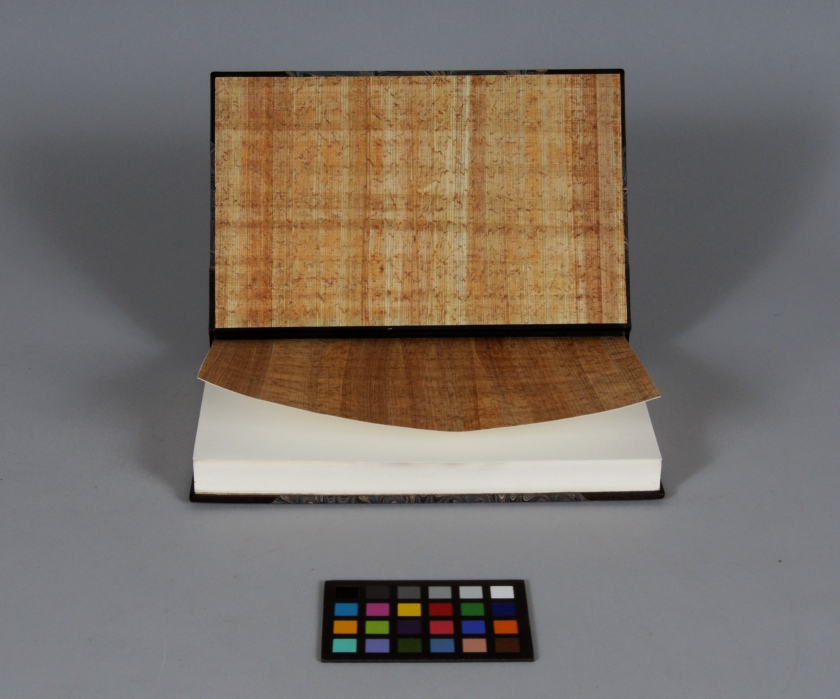
The endsheets for this rebinding are composed of a plain paper folio, with a piece of thin leather or book cloth tipped to the outside of the fold. Decorative paper is then made to the outside of the folio, covering the edge of the bookcloth or leather, one board thickness away from the fold. This will be a tight-joint binding, with an island pastedown. We want the decorative paper on the fly-leaf to end at the seat of the shoulder and not ride up across the hinge. The finished endsheets are pictured below:
I used papyrus instead of decorative paper for this binding. The use of the material references the author’s experiences in Egypt, but also adds a nice textural feel to the endsheets. Unfortunately the pull of the papyrus overcomes the paper I used for the folio, so the flyleaves don’t lie flat. This isn’t a fine binding, however, so no need to despair! The endsheets are tipped to the textblock and worked with the bonefolder to finish creating an even, 90 degree shoulder to the thickness of the boards.
Philip Smith (1974) describes a sturdier method for creating a false shoulder in which the cord is wrapped in pasted-out leather and formed into a triangle as it is adhered to the bookblock (p. 85). The endsheets are then over-sewn through the false shoulder. If this was a larger book, I would probably have employed Smith’s method.
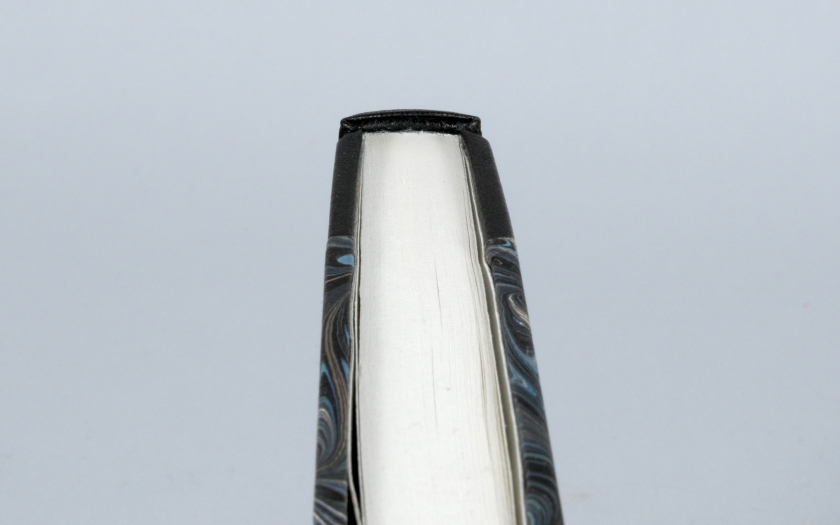
When the endsheets are on and the new shoulder is formed, the endbands are stuck on the spine. I made rolled leather endbands (to the height of the squares) for this binding in the same way that I did for the millimeter bindings. Once again, the picture below shows the final look. It’s black goat on black goat… so a bit tough to see.
After endbands, the rest of the spine is in-filled and sanded to make it flat and smooth. A 1-on-2-off hollow is then constructed on the book and trimmed down so that it doesn’t show over the endbands.
Next the false bands (or “sham-bands”) are constructed out of strips of parchment laminated to full-thickness leather. These will give the book the appearance of being sewn on raised supports, encouraging the causal reader to think that I have spent considerable time and effort creating this binding. But remember – it’s a book of lies! Regardless, this is a time honored tradition: bookbinders have been using false bands to fancy up their products while cutting production time since at least the mid-17th century (Pickwoad, 1994, p. 91).
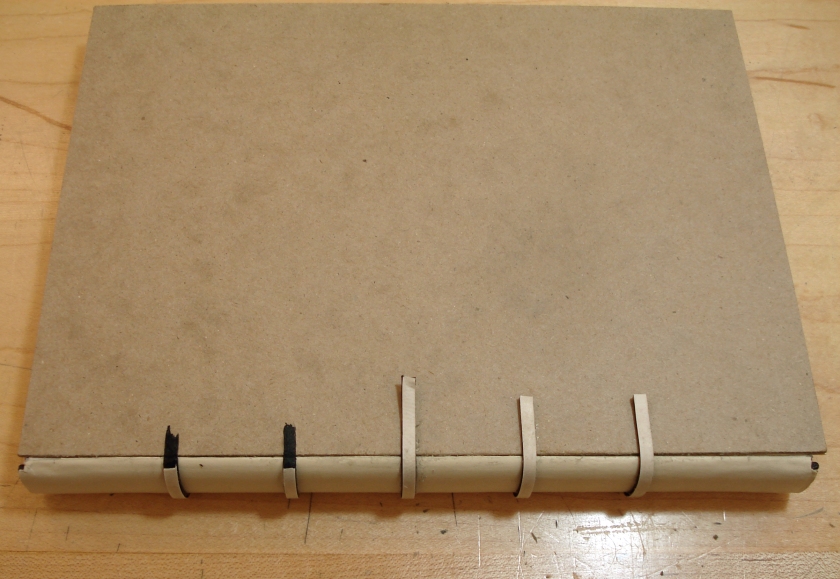 To give the bands a crisp 19th-century look, I attached them with the parchment side out. I placed them where sewing supports would be along the spine of the book, centering them toward the head. The bands are put down with PVA and trimmed off flush with the face of the board.
Now we are almost ready for covering. The boards are cut to size and back-cornered. The leather for the spine and corners is flat-pared to 0.7 mm and then pared German-style so that the turn-ins are the thickness of the in-fill material. At this point, the leather for the corners can be put on.
The covering process for this book is a bit odd, because the boards are not laced on. After placing the boards on the book (aligned and squared-up), the book is secured in the lying press. The spine leather is dampened and pasted out. The spine of the book is sized with paste and a little PVA is brushed onto the bands to make sure they stick. When ready, the leather is molded over the spine by hand. The bands are gently set with band nippers to mark their place.
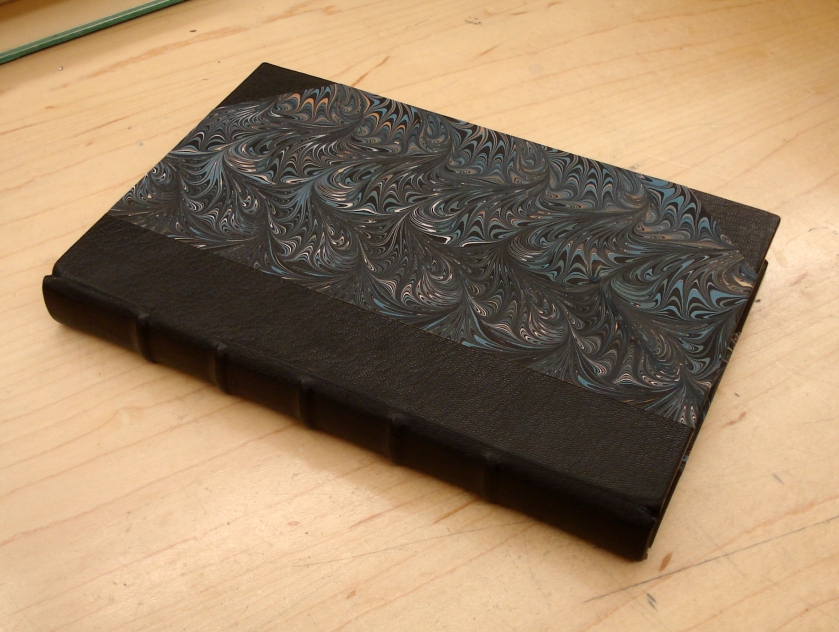
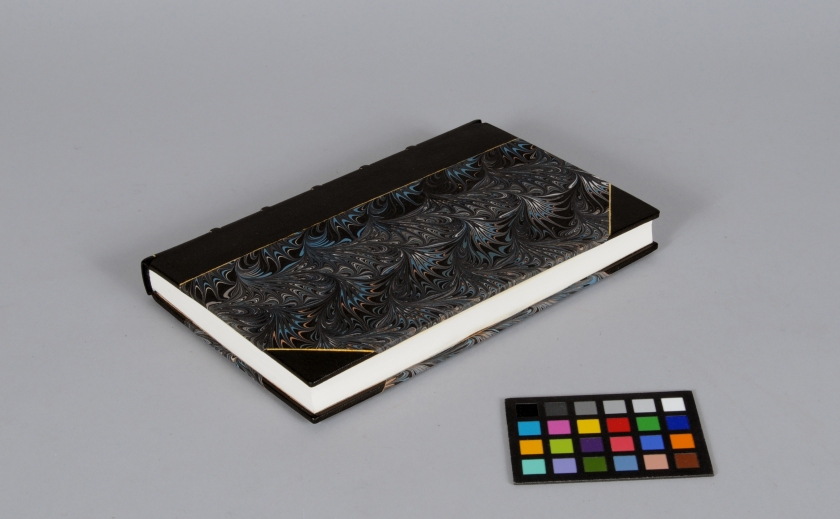
Quickly, the book is removed from the press and the textblock pulled away from the boards. The spine turn-ins are done, leaving enough leather to form the headcaps. The head and tail of the textblock spine should be re-pasted at this point so that the turn-ins will adhere, and the boards are placed back on the textblock. The leather can be really worked down now, and the band nippers are used to set the bands. Headcaps are formed and the leather is worked into the back-corners of the boards. After going back across the bands with the nippers, the boards are set by opening them back and re-seating them in the joints. Everything is then double checked to make sure nothing has moved. After about 10 minutes of drying time between felts, the book is triple checked! The result is something like this:
The above image is after trimming the leather, in-filling with card and siding up with marbled paper. I made the paper with with Chena River Marblers in our Marbling Workshop.
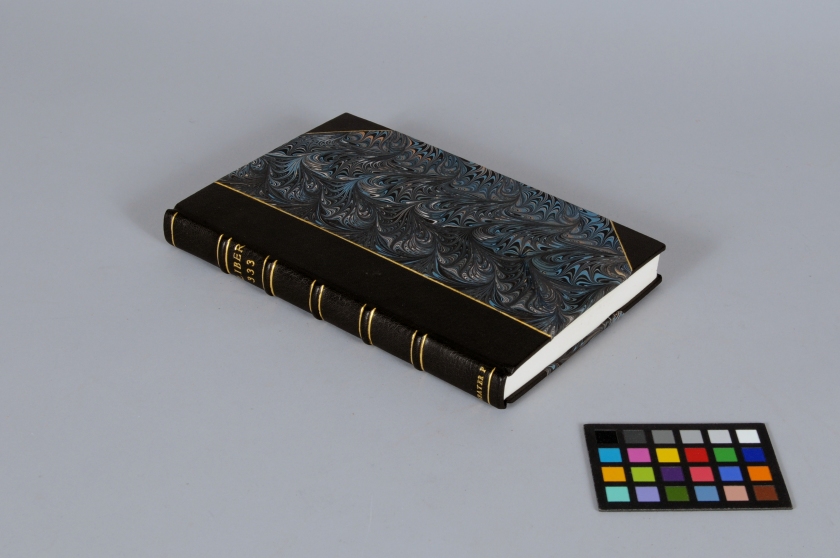
Leather covering on a book is certainly fancy, but adding a bit of gilding will make it that much better.
The finishing on this structure is actually much lower risk than a typical binding with laced on boards. At this stage, the paste along the spine is the only thing attaching the leather case to the bookblock. If something goes terribly wrong with the tooling or titling, you can just pull the covers right off and re-make them. You will lose some leather and some boards, but that is a small price to pay!
When the tooling is finished, the leather or bookcloth hinges are adhered to the insides of the boards to completely attach the case. The turn-ins and hinges are trimmed out and the insides of the boards are filled with paper to level the surface. Finally, the paste-downs are adhered to the insides of the boards.
This structure is not particularly sturdy, nor does it open all that well. It does, however, look a great deal nicer than the original paper binding.
Ω
I promised that this blog would endure and it will – although my posting schedule will probably remain erratic. I can commit to churning out at least one thing a month, though. Stay tuned – exciting times ahead!
_______________
Pickwoad, N. (1994). Onward and downward: How binders coped with the printing press before 1800. In R. Myers and M. Harris (Eds.), A Millenium of the Book (61-106). Delaware: Oak Knoll Press.
Smith, P. (1974). New directions in bookbinding. Van Nostrand Reinhold.
Thank you so much for the great post! Will definitely try this sometime.