Recently, we spent a fun-filled couple of days with the Chena River Marblers, Regina and Dan St. John. With over 25 years of experience marbling, Regina and Dan have been coming to NBSS for some time now to teach the first years the basics of marbling and to instruct the second years in more advanced techniques. They also often teach one and two day workshops at their studio in western Massachusetts (see their website for details).
Marbled paper has a long and rich history, with various materials and techniques employed across Asia and Europe. At present, I know very little about that history, but have been finding Richard Wolfe’s book on the subject to be a handy reference (1). Regina and Dan instructed us in a modern method of marbling that makes use of surprisingly simple materials. Described briefly, acrylic paint is dropped onto the surface of an aqueous solution of Carrageenan (a polysaccharide extracted from seaweed) and manipulated to create a pattern. Next, paper coated with alum (the mordant) is laid onto the surface to transfer the pattern. Marbling is such a fun and fascinating process; I took quite a few pictures of the demonstrations and the many papers that I produced.
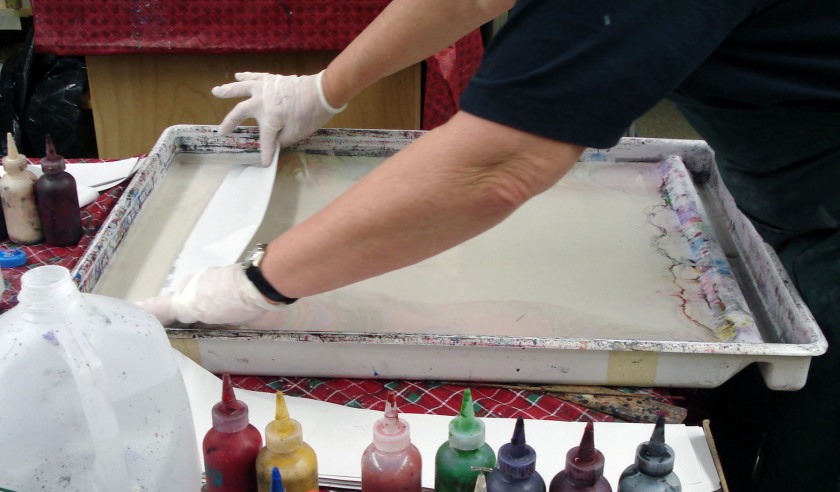
The following photos will outline the process for a kind of swirled pattern. First the surface of the bath is cleaned with a strip of newsprint.
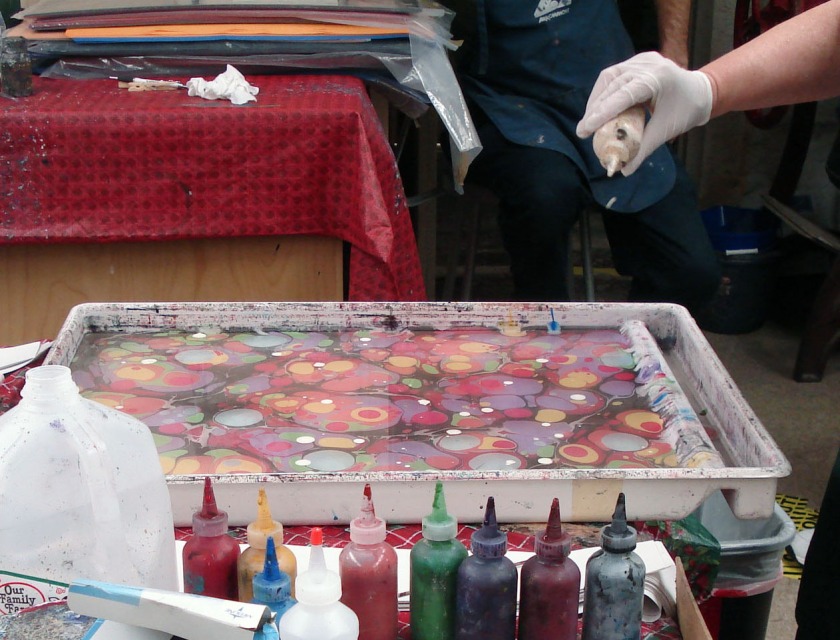
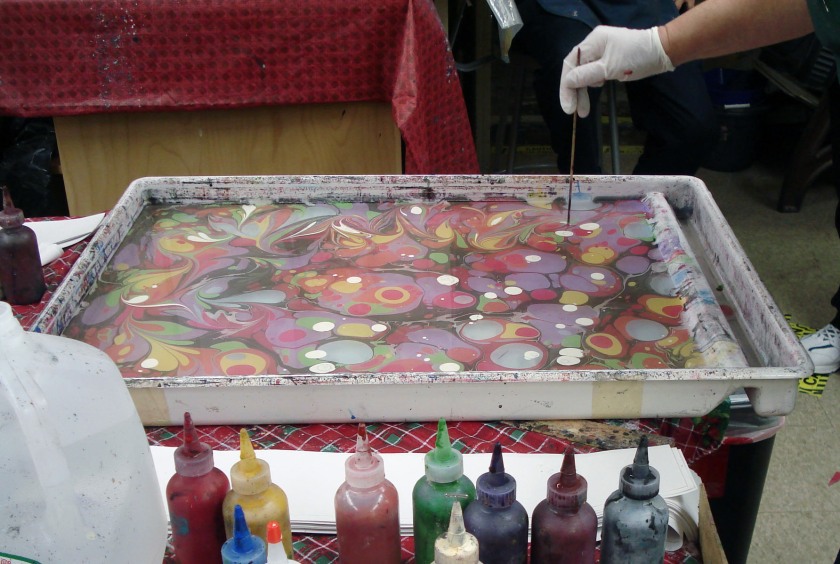
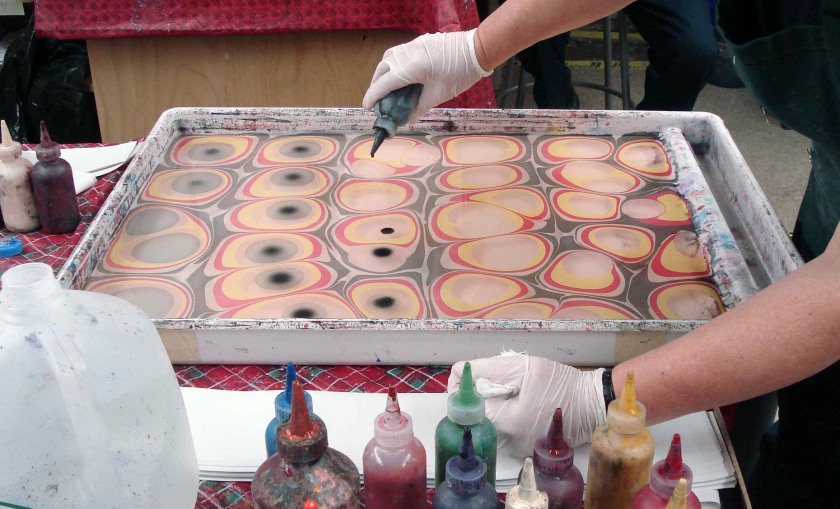
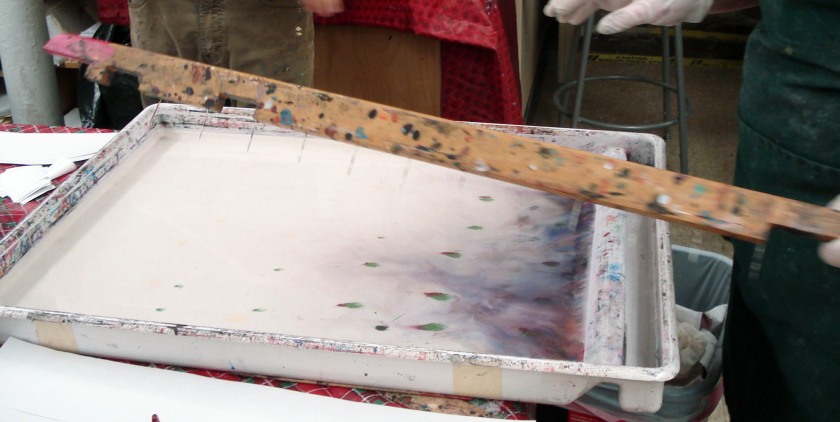
Then colors are dripped onto the surface…
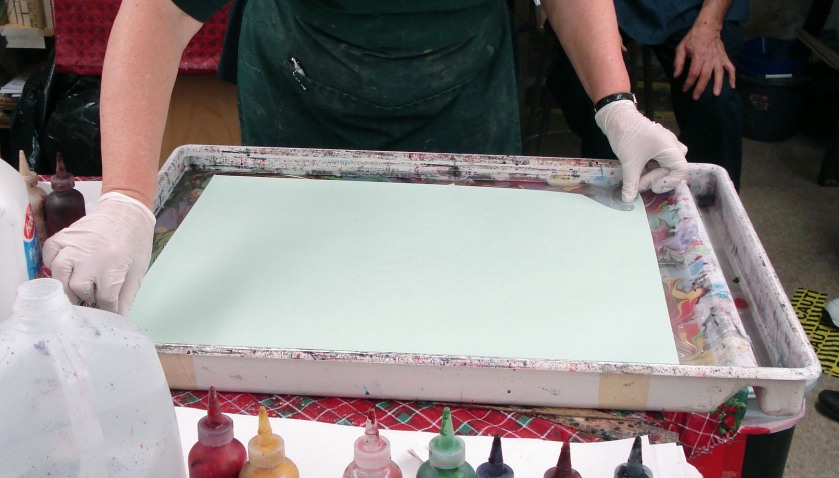
The paper is then applied to the surface with a smooth motion. I managed to take a load of sequential photos of Regina placing the paper and thought it would be fun to make a simple animation using state-of-the-art technology from 1995. Click here to watch!
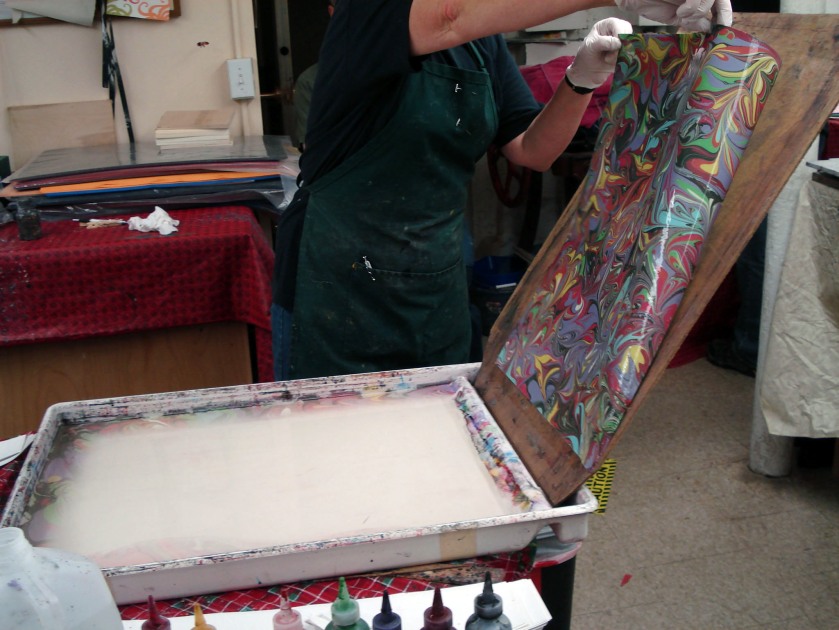
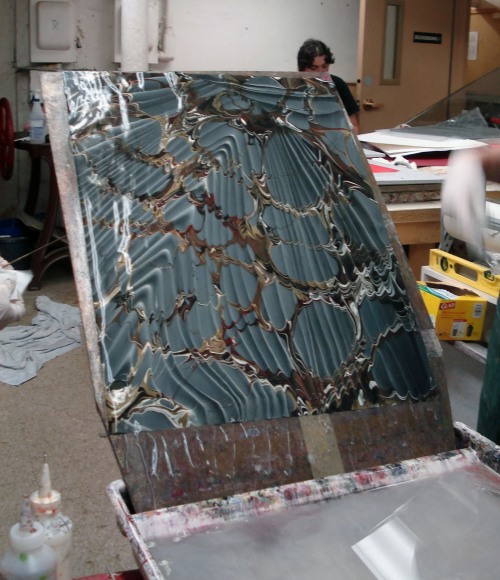
The paper is pulled from the bath, set on an angled board, and rinsed with water. The water drains into the waste tray and into a bucket placed below. I also made a simple animation of that action (why, I don’t know…) that you can view here.
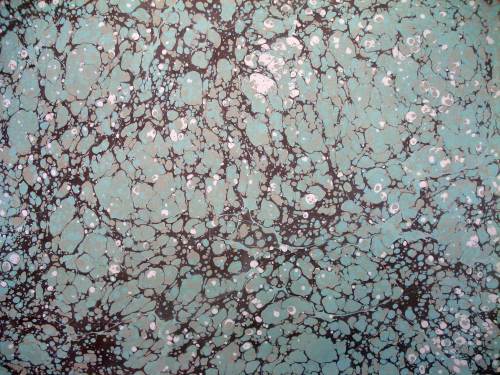
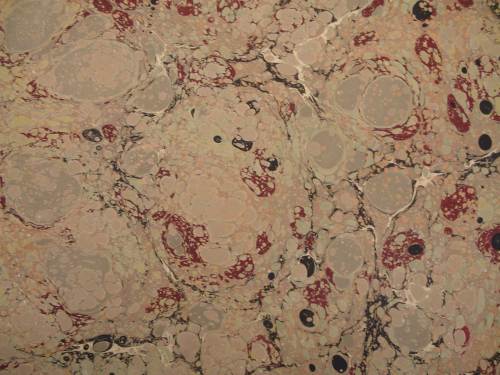
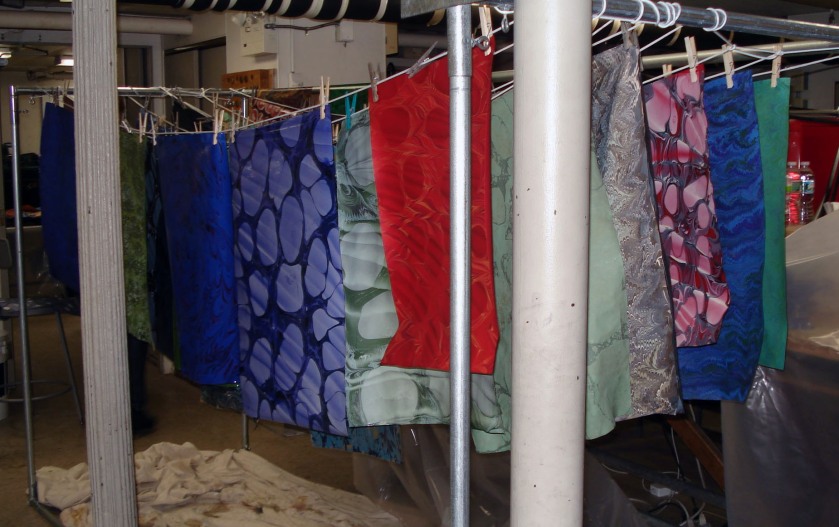
So many patterns and styles of marbled paper have evolved over the centuries, but Regina only had time to show us the most basic of them. By far, the easiest to produce is the stone pattern – in which the paint is either dropped directly from the narrow spout of the bottle or tapped from a brush to create many overlapping circles of color. Here are some examples that I produced. First a larger pattern…
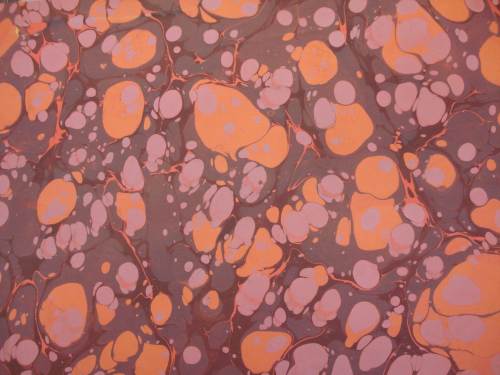
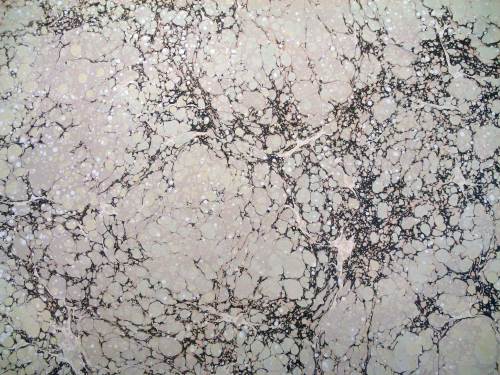
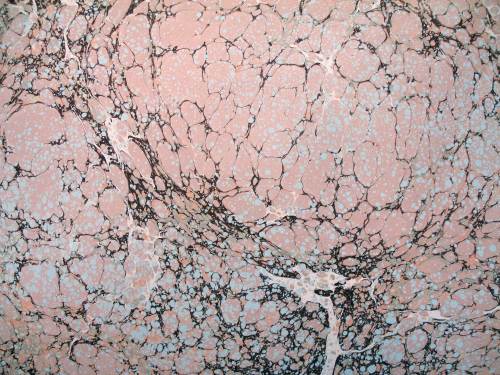
… and then some smaller ones.
I cannot wait to use these to make some 19th century German-style paper bindings.
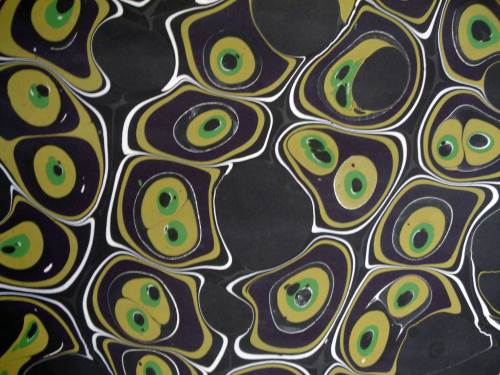
Apart starting from the random stone pattern, one can also create a bullseye pattern.
Below is a rather psychedelic bullseye pattern that I produced. I enjoyed using acrylic paint mixed with Photo-Flo to disperse the color, creating large holes in the color and allow the paper to show through.
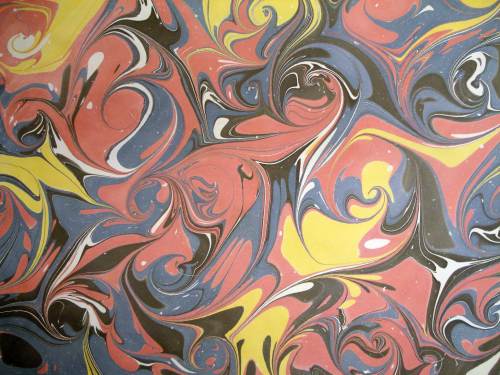
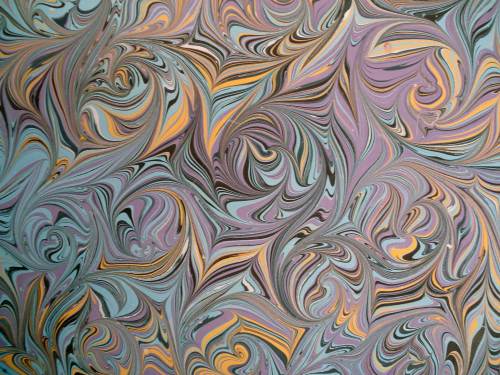
These stone or bull’s-eyes can be manipulated with a stylus to produce a nice swirl pattern. Below are three examples that I made.
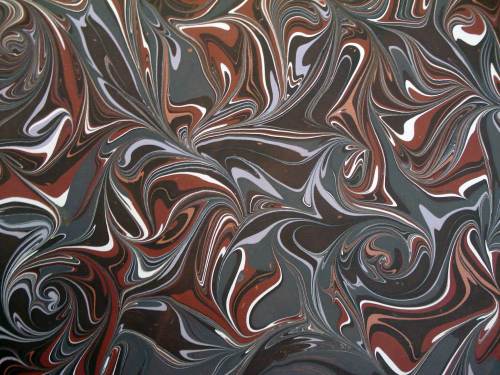
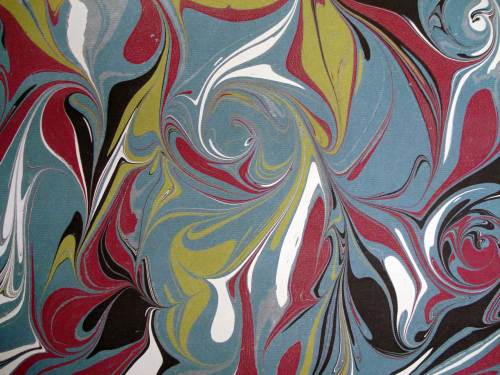
As a novice, I find it very difficult to fully anticipate how the color of the paper will affect the color of the paint. Often I’m going for a subtle melding of color and end up producing some garish monstrosity. The two examples below were made using the same color paint but on different papers (white and blue). I find the difference in results fascinating.
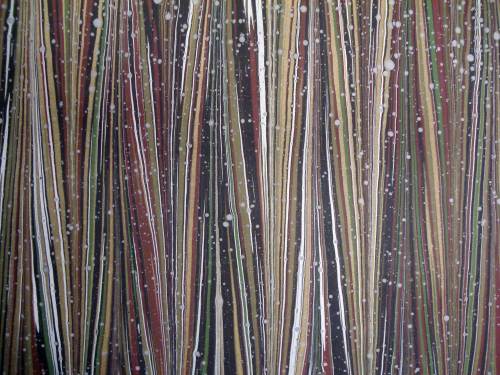
One can also use combs to produce a huge variety of patterns. Below is an example of a Rake comb that Dan made. The shape allows the comb to be used across both the long and short dimensions of the tray, with the tray sides acting as guides to produce straight and even lines. Apologies for the blur – but you get the idea.
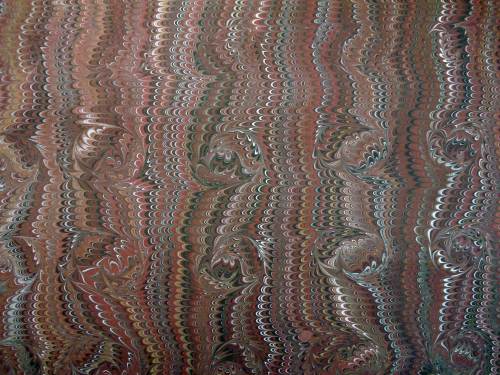
Running the Rake up and down the tray in one direction achieves a pattern like the one below – although this one is slightly distorted by a fine stone pattern in white on top.
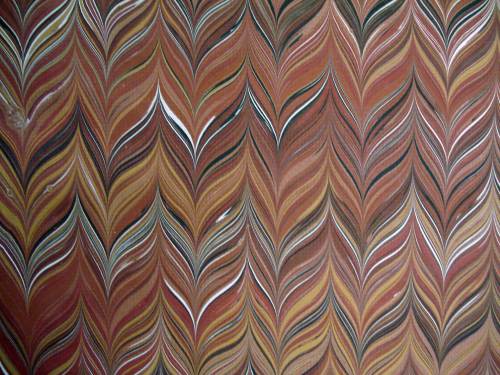
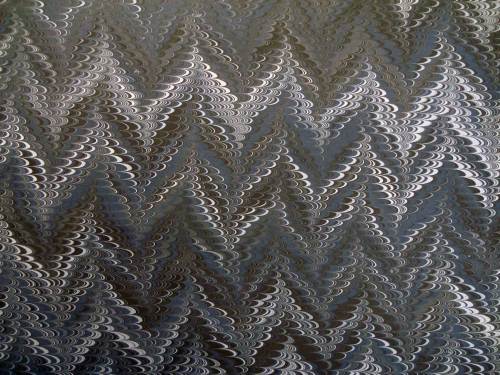
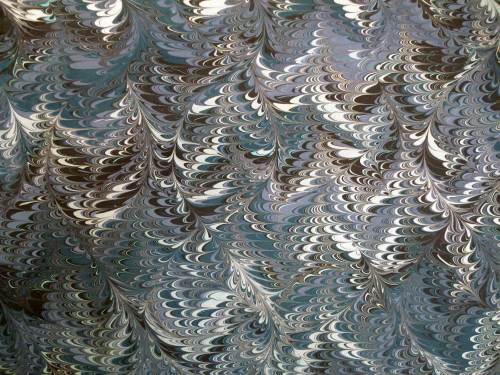
Building upon the previous pattern: by using the Rake back and forth one time in a cross direction, one can achieve the Git-Gel pattern (seen below).
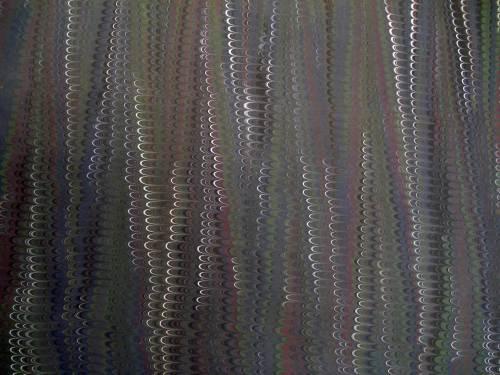
The Non-Peril comb has tines that are much closer together and these can be used to augment the patterns above.
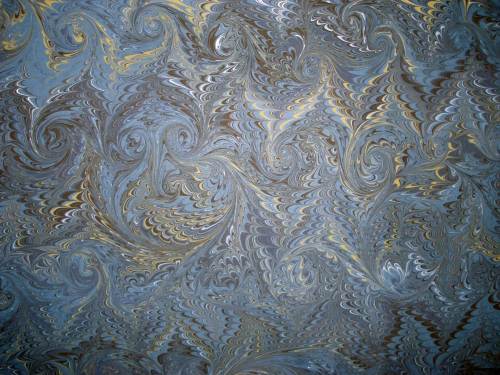
Additionally, the combed pattern can be swirled with the stylus. The example below started as a Git-Gel – it also is an example of a paper that ends up way brighter than expected.
I also experimented with going back with the rake to make somewhat of a combed French Swirl. Some worked out better than others.
Another technique that Regina illustrated was the Moiré.
This pattern is produced by kind of rocking the paper as it goes down, and is definitely not as easy as it looks.My attempts came out a bit weird.
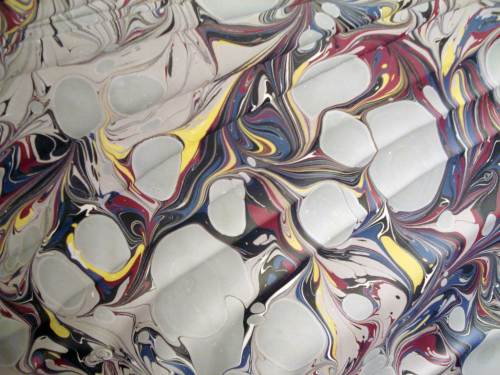
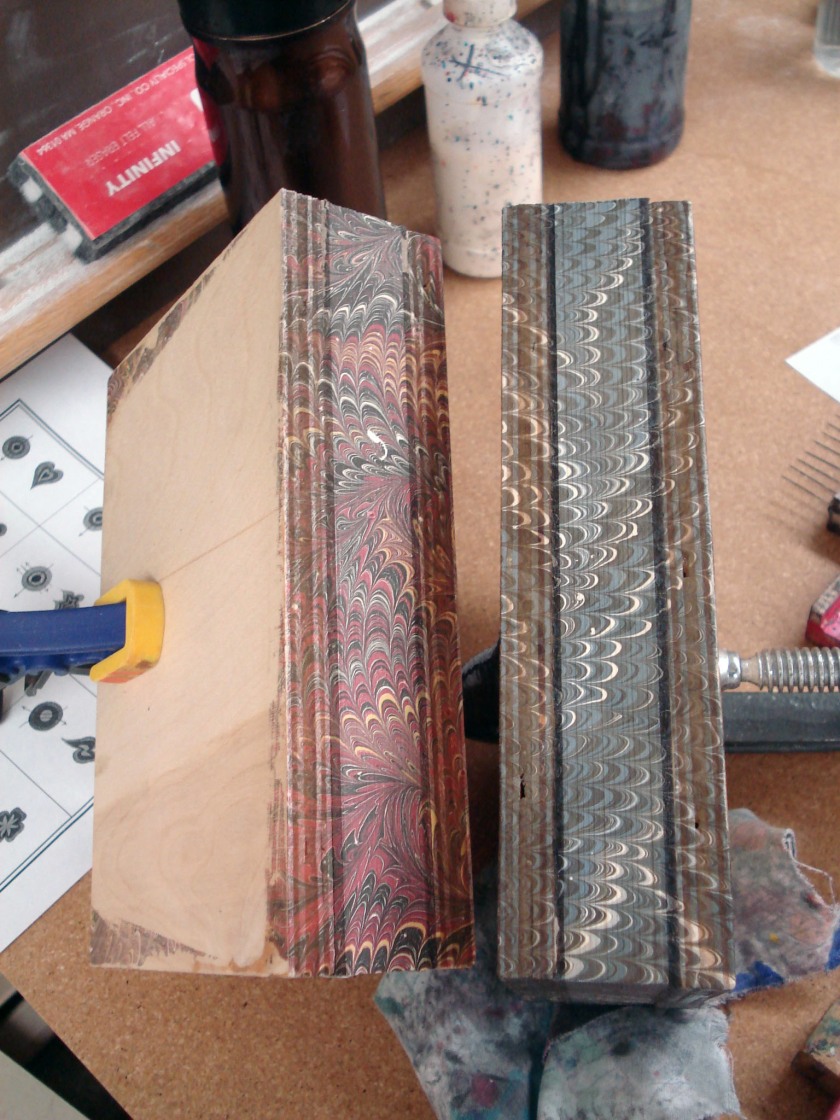
Finally, Dan demonstrated a method for marbling the edges of books. I was particularly excited about this for our upcoming quarter-leather case bindings, so I prepped two textblocks the day before. In order to marble all three edges, one must clamp unsewn sections (or a textblock with absolutely no swell) up in boards that fit the book exactly. The edges are coated in alum and then applied to the surface of the carrageenan, using one corner as a pivot and tilting it down until the entire surface is contacted. Placing a slip of newsprint over the space where the edge contacted the paint keeps the remainder of the pattern in the bath from distorting. I made a brief animation of this process, seen here. But the result looks like this:
Regina and Dan were wonderful instructors and really helped to maximize our working time. At the end of the day, each of us had produced 30 or more papers. Since we go through so much decorative paper for models or production projects, this workshop was quite a boon to us.
In learning the basics of marbling with acrylics, I discovered that while it is relatively easy to get a nice looking paper, it is extremely difficult to reproduce a given pattern consistently. Not only has this given me more of an appreciation for quality marbled paper, it has illustrated the unique value of being able to just purchase multiple sheets of the same paper when needed. I will never complain about the cost of marbled paper again!
Ω
Well folks, I am falling so far behind with this blog lately. I have pictures of at least 6 projects just sitting in a folder, waiting to go. As the year is winding to a close, either our projects are accelerating or we are just taking on multiple projects simultaneously. Regardless, I’ve got to step it up! Split-board structures, a portfolio production project, Lapped-component, and Paper bindings are all on their way. I’ve also finished some interesting repair projects that I will share eventually. Stay tuned!
____________
Wolfe, R. J. (1990). Marbled Paper : Its History, Techniques, and Patterns : With Special Reference to the Relationship of Marbling to Bookbinding in Europe and the Western World. Philadelphia, PA: U. of Pennsylvania Press.
Wow!
Beautiful work. I have recently fallen in love with bookbinding and want to pursue it further. Your blog is wonderful. (BTW we met at Gawain’s workshop at ISU — this is Lindsey, the archivist at DMU.) Best wishes!
Thanks, Lindsey! I’m glad that you are enjoying it. I was just commenting to one of my classmates yesterday about how much I learned at Gawain’s workshop. It’s good to hear from you!
I really needed to show this post, “Paper Marbling Workshop
� Work of the Hand:” together with my own buddies
on facebook .com. I reallyonly needed to distributed your wonderful posting!
Regards, Carlos
I NEED to attend a marbling workshop. Could someone please tell me where I can find what is being offered……..thanks so much. helene
Hi Helene,
I would check with either the Chena River Marblers or Marbler’s Apprentice. If you are located in the Northeast, they could tell you when they are offering workshops. Otherwise they may have suggestions for marblers working in your area.
Thanks,
HH
THANK YOU so much for taking the time to send me info….
Wow..beautiful!
Just a quick one Henry to let you know that our Paper Marbling Tutorial post is live (it features a couple of your images). Would be keen to hear your thoughts…
http://www.ibookbinding.com/blog/marbled-paper-bookbinding-tutorial-and-photo-gallery/
Regards,
Paul
Henry, can I use one of your marbled paper images for a chap book?
Sure, Max. Thanks for asking!
How did you get the colors so bright. I tried the acrylics and they are too pale. Is there a secret to that?
Hi Wendy,
I’m no expert at this, but maybe you aren’t getting enough paint into the bath? The paint will spread out over the entire surface, so the more you add, the more dense and vibrant your colors should be. There could be some component to the mix that you are missing. I would contact Regina and Dan St. John (http://chenarivermarblers.com/contact) with specific questions or take one of their classes if you are able. They are really great teachers!
Thanks for reading the blog!
HH
Try as I might I cannot find difinative information about the best paper to use for marbling I would like to find classes on marbling
Hi Bill,
I think you can use just about any paper for marbling. The defining factor is that it is treated with the proper mordant. For your first attempts, I would go with a heavier weight, smooth text paper. Something suitable for drawing would probably work well. I have mostly used Mohawk Superfine or Cansen Ingres of different colors. You should be able to find marbling classes if you have a look on the book arts listservs.
Hope that helps!
HH
Onde encontrar a alga Carragena no Brasil?
I’m not sure. It’s often used as a food additive, so maybe a nutritional supplement store?
Hi,
I’m wondering where one could purchase an industrial size marbling tray? Do you have any recommendations?
Thanks!
If “industrial size” means larger than ~20″x25″, I’m not sure. But you can get trays that size from Talas (http://talasonline.com/Plastic-Marbling-Tray). For a cheaper option, any plastic tray (http://www.dickblick.com/products/richeson-heavy-duty-art-tray/) could work with a little engineering.
Hi Henry,
Thanks for displaying your really inspiring work and outlining the process. Could you tell me about the water tray you are using in the pictures, please? I would love to get one just like this.
Many thanks,
John
Hey John, you can get those marbling trays from several suppliers. the first that comes to mind is Talas: http://www.talasonline.com/Plastic-Marbling-Tray
Many thanks for your reply, Henry. I hadn’t considered that you are in the US! I am in the UK and I cannot find a similar tray anywhere. I’ll keep searching for alternatives. Cheers!